1:36:31 AM
 |
| Home � Reviews � Forums � News 2015 � 2013 � 2012 � 2009 � 2008 � 2007 � 2006 � 2005 � 2004 RSS Feeds � FOV Factor Table � Sensor Sizes | Definitions: A-D � E-H � I-L � M-P � Q-U � V-Z | Sitemap Articles � Archived Websites (Pre-DigitalDingus): D100 Lounge � E-10 Club | Contact |
| Exposure by Alien Skin |
| Exposure \\ Settings August 7, 2006 |
| Exposure Introduction � Settings � Preview Window � Color � Tone Focus � Grain � System Requirements � Exposure Conclusion
|
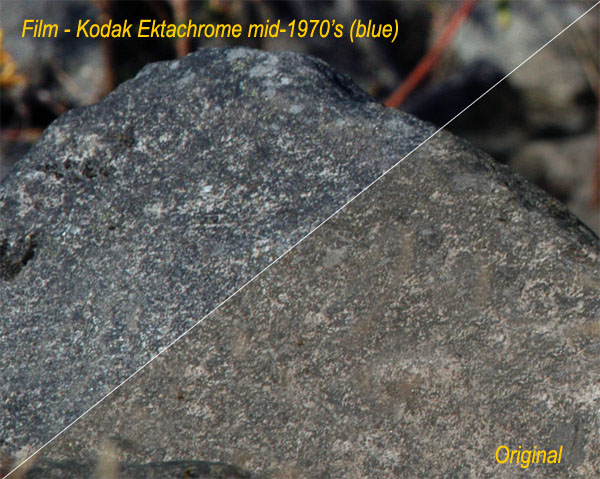
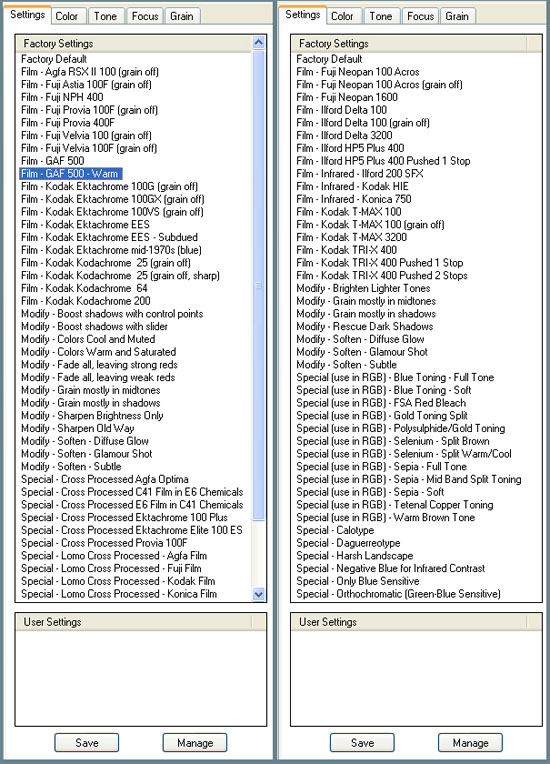
After choosing which type of film stock you prefer, the next tab is Settings. The settings tab allows you to select the film stock. I guarantee you will be playing around with the film stock selections for the first week or so (maybe even longer) because of the various changes made to your image. It's quite interesting to note the changes and if you're a die-hard Photoshop user or image editor, I would suggest taking notes on what you see. Exposure \\ Settings The following are screenshot crops taken from Color Film and B/W Film settings which are initially prompted for you to select when starting Exposure:

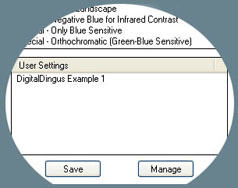
Want more? Well, if you're a professional, there will more than likely be dozens, if not, hundreds of personalized settings. Wouldn't it be nice to save these settings and import them in case you install Exposure on another computer? Well, Alien Skin allows you to do just this. Importing profiles is yet another bonus. Below is an example of using Kodak's T-MAX 100 B&W film (left) then switching to a custom setting created by DigitalDingus (right). I adjusted the grain and a few other levels to make it truly "custom":

|
| Home � Reviews � Forums � News 2015 � 2013 � 2012 � 2009 � 2008 � 2007 � 2006 � 2005 � 2004 RSS Feeds � FOV Factor Table � Sensor Sizes | Definitions: A-D � E-H � I-L � M-P � Q-U � V-Z | Sitemap Articles � Archived Websites (Pre-DigitalDingus): D100 Lounge � E-10 Club | Contact |
 What really makes an application shine and go beyond what is necessary, is the availability to customize the application to suit your particular needs. Alien Skin adds the option of creating your own profiles and saving them to the list of the other film stocks. If you're a photographer, you can already begin to imagine the possibilities. Wedding profiles, close-up profiles, landscapes with a lot of green in them, landscapes with more red, etc.