| Home • Reviews • Forums • News 2015 • 2013 • 2012 • 2009 • 2008 • 2007 • 2006 • 2005 • 2004 RSS Feeds • FOV Factor Table • Sensor Sizes | Definitions: A-D • E-H • I-L • M-P • Q-U • V-Z | Sitemap Articles • Archived Websites (Pre-DigitalDingus): D100 Lounge • E-10 Club | Contact |
| Import |
| Installation (Part 1) | Installation (Part 2) |
Installation (Part 3) | Albums & Functions | Keywords Collections | Import | Timeline | Edit Picture | Search Conclusion | Hello (chat & share photos)
|
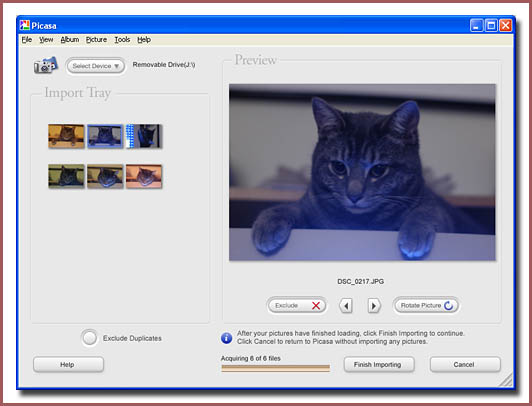
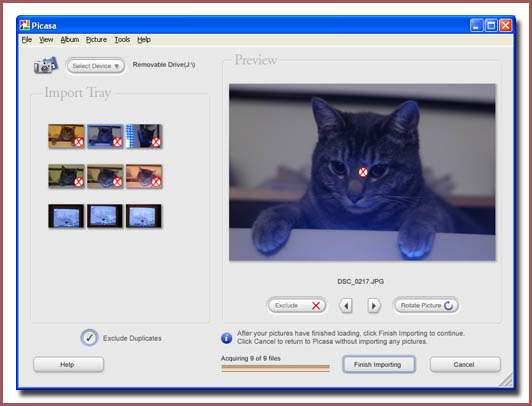
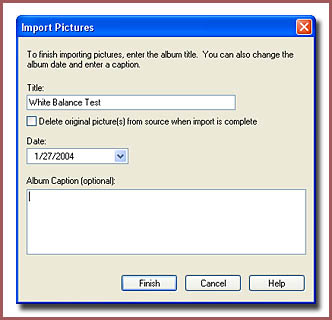
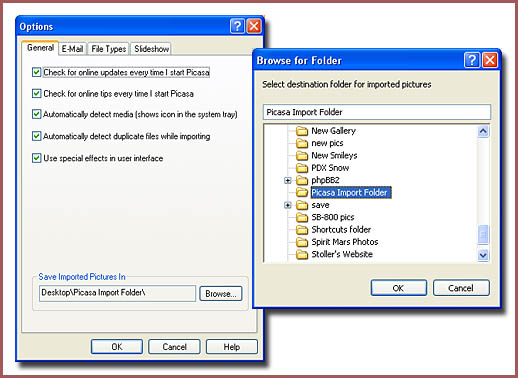
| The Import button does exactly that; it allows you to import photos from an external connection. If you have an external drive, CF Card Reader, or a digital camera, this is where you can import your photos. The following example is of my D100 connected to my computer. The photos were taken during a White Balance test.

 Notice how duplicates are flagged by Picasa


|
| Home • Reviews • Forums • News 2015 • 2013 • 2012 • 2009 • 2008 • 2007 • 2006 • 2005 • 2004 RSS Feeds • FOV Factor Table • Sensor Sizes | Definitions: A-D • E-H • I-L • M-P • Q-U • V-Z | Sitemap Articles • Archived Websites (Pre-DigitalDingus): D100 Lounge • E-10 Club | Contact |