 |
| Home • Reviews • Forums • News 2015 • 2013 • 2012 • 2009 • 2008 • 2007 • 2006 • 2005 • 2004 RSS Feeds • FOV Factor Table • Sensor Sizes | Definitions: A-D • E-H • I-L • M-P • Q-U • V-Z | Sitemap Articles • Archived Websites (Pre-DigitalDingus): D100 Lounge • E-10 Club | Contact |
| Image Armada by Tangent3D Version 1.5 |
| Creating Galleries October 26, 2005 |
| Introduction • Standard vs. Professional • Creating Galleries • Conclusion
|
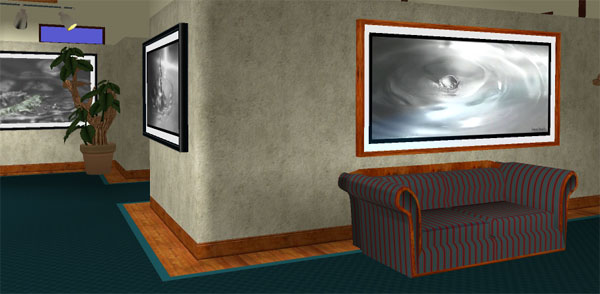
Creating a gallery is pretty simple, and let's look at what's involved in a basic setup. Creating A Gallery There are two parts of Image Armada: Image Armada Viewer and the Image Armada Builder. In this case we want to build our gallery, so we choose the Image Armada Builder from the Windows Start Menu or the desktop shortcuts. After this we have 3 options: Open Last Gallery, Open A Gallery Configuration, and Open A Gallery Template. We choose the last option since we're starting from scratch, and there are two default templates we can choose from: Demonstration - The Lounge - 1 and Demonstration - The Tombs - 1. Other templates are available from the Tangent3D website. Add Images To Gallery
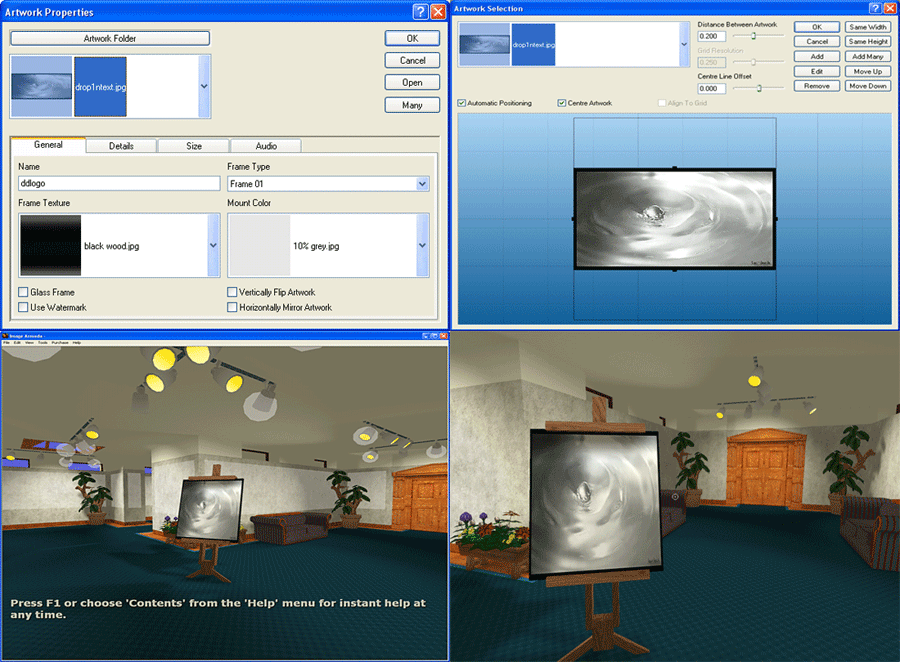
 Choosing An Image For The Gallery Below is an animated GIF, representing the stages in adding an image:

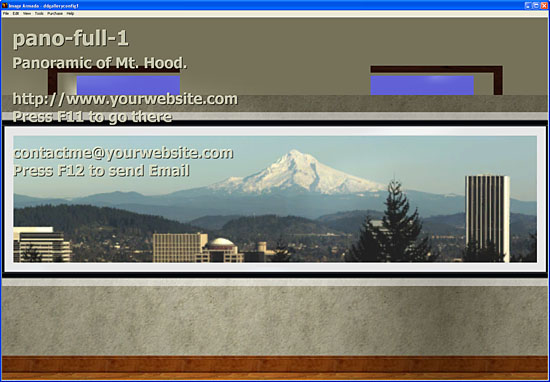
Display Your Internet Address & Email (Professional Version) Among the many addition features of the pro version, Image Armada can display your website address and email information when you walk up to an image.
 Tangent3D occasionally showcases their Exhibitions from other artists who have used the software. This is a really good way to learn the potential of Image Armada.
|
| Home • Reviews • Forums • News 2015 • 2013 • 2012 • 2009 • 2008 • 2007 • 2006 • 2005 • 2004 RSS Feeds • FOV Factor Table • Sensor Sizes | Definitions: A-D • E-H • I-L • M-P • Q-U • V-Z | Sitemap Articles • Archived Websites (Pre-DigitalDingus): D100 Lounge • E-10 Club | Contact |